I built my blog website using Next.js, TypeScript, and MongoDB to create a fast, dynamic, and scalable platform for publishing articles.
I styled my website using SCSS and TailwindCSS. Rather than relying on pre-built frameworks or templates, I designed the layout and visual patterns from scratch, including the color scheme and component styles.
The reason why I didn't choose a UI framework such as Material UI or ShadCN is as follows:
The fastest way to learn a new skill is to do the smallest things and figure out how it works from the foundation. The boost of frameworks somehow becomes stuck along the way you learn coding, though it brings much more convenience.
Design is about so much more than nice-looking pieces. A component library can give you nice buttons, date pickers, and pagination widgets, but it’s still your job to assemble them.
Every app and website is unique, it's hard to keep your style while integrating the pre-built components.
My blog is integrated with a Content Management System (CMS) using MongoDB for seamless content creation, editing, and management. The blog data, including posts and other related information, is securely stored in MongoDB, ensuring flexibility, scalability, and reliable access.
As a NoSQL database, MongoDB is ideal for managing unstructured or semi-structured data, making it a perfect fit for a content-driven website like mine. MongoDB’s flexibility and performance ensure that my blog can grow without hitting limitations. Its ability to store data in a JSON-like format allows me to adapt the content structure as needed, while its scalability ensures that the database can handle increased traffic and data storage over time. With MongoDB, my blog remains efficient and responsive as it evolves.
If your MDX files or content lives somewhere else, you can fetch it dynamically on the server. This is useful for content stored in a CMS, database, or anywhere else. A popular community package for this use is next-mdx-remote
MDX compiles to JavaScript and is executed on the server. You should only fetch MDX content from a trusted source, otherwise this can lead to remote code execution (RCE).
The following codes are how I handle remote MDX:
import { compileMDX } from "next-mdx-remote/rsc";

const blog = await Blog.findById(id);
    if (!blog) {
        return <div>No blog found...</div>;
    }

    const markdown = blog.content;

    const { content, frontmatter } = await compileMDX<{
        title: string;
        description: string;
        tags: string[];
        createdAt: string;
    }>({
        source: markdown,
        options: { parseFrontmatter: true, mdxOptions: { remarkPlugins: [remarkGfm], } },
        components: {
            pre: ({ children }) => <>{children}</>,
            code: CodeBlock,
        },
    });

return (
  <div className={`prose prose-a:text-blue-500 w-full  ${styles.main} `}>
                    {content}
                </div>
)
I've tried many packages to handle code block highlights, but packages like rehype-highlight are designed to apply syntax highlighting during static site generation by transforming raw HTML or Markdown content. They are not intended for use with dynamically rendered code blocks in React or client-side environments. It only works during the build process when processing raw Markdown or HTML content, not at runtime when JSX is rendered on the server or client.
Shiki allows me to generate pre-highlighted HTML strings that can be safely rendered inside my React components, whether in static generation or server-side rendering (SSR) in Next.js. This flexibility makes it ideal for scenarios where code blocks are dynamic or need to be rendered at runtime. Additionally, Shiki supports a wide range of languages and themes, and its output is highly customizable, which gives me more control over the final appearance of code blocks.
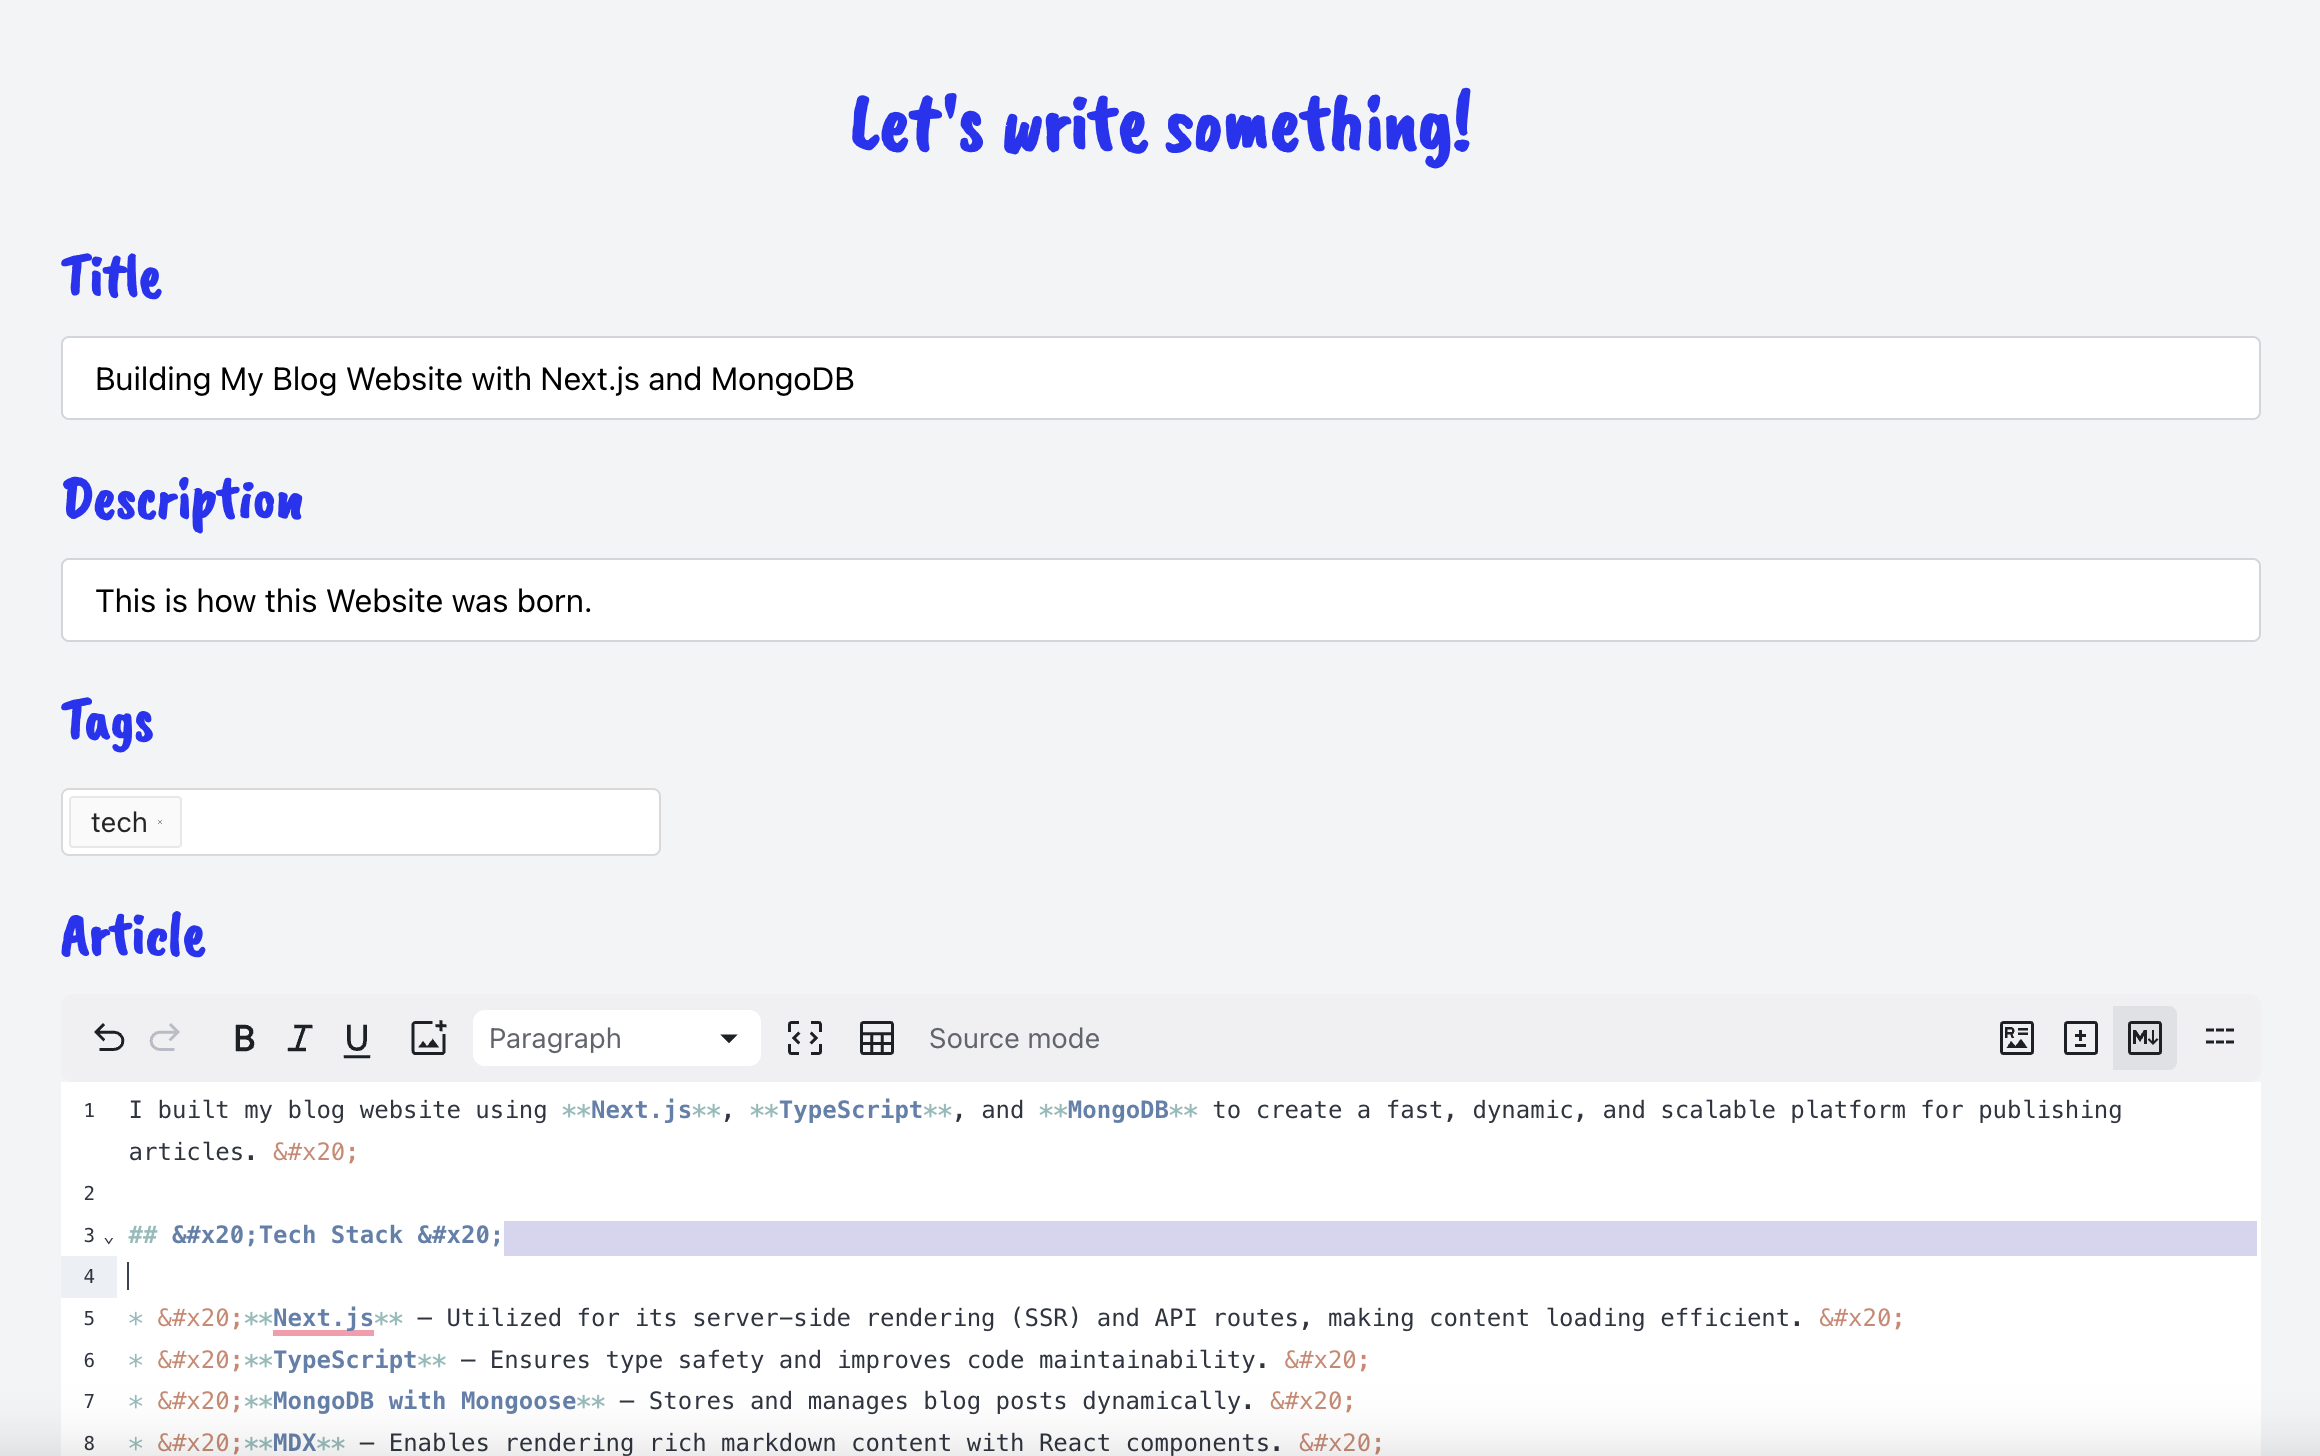
My blog is powered by an MDX editor, which allows me to write content using Markdown syntax while seamlessly integrating interactive React components. This combination provides the simplicity of Markdown with the flexibility of JSX, enabling a rich and dynamic blogging experience.
I chose an MDX editor because it bridges the gap between static content and dynamic UI. Unlike traditional Markdown, which is limited to plain text and code blocks, MDX allows me to embed custom React components directly into my posts — such as interactive charts, alerts, or custom layout blocks — without sacrificing readability or simplicity.
The MDX editor gives me a real-time editing experience where I can:
By using MDX, my blog becomes more than just static text. I can create educational posts with working examples, embed interactive UI elements, and offer readers a more engaging experience. It also streamlines my workflow by keeping code and content in a single, cohesive format.
My blog uses Clerk for authentication, integrated with GitHub login via OAuth, allowing users to easily authenticate using their existing GitHub credentials. This ensures a smooth and secure login experience for visitors, leveraging Clerk's powerful session management and user authentication features.
This authentication setup gives me full control over the blog, ensuring that only I can update and manage its content. By using Clerk with GitHub OAuth, I can securely log in with my existing GitHub credentials, making the process fast and hassle-free while maintaining complete privacy and security for the blog's backend.
Here is how it looks like when I logged in: 
For efficient and scalable image storage, I use Cloudflare R2, integrated with an AWS S3 client. This setup leverages Cloudflare R2’s cost-effective, S3-compatible object storage, combined with AWS’s S3 client, which allows me to seamlessly upload, manage, and retrieve my public image assets.
💡 Why I chose Cloudflare R2 with AWS S3 Client: Cloudflare R2 offers a reliable, scalable solution for storing images, and its compatibility with the S3 API makes it easy to integrate with the AWS S3 client. This combination provides a powerful, cost-effective way to manage and access my blog’s image assets while leveraging the best of both Cloudflare’s storage and AWS’s client tools.
🛠 What it does:
Vercel offers a seamless deployment experience, especially for static and serverless applications. Its integration with GitHub allows for continuous deployment, meaning that every push to the repository automatically triggers a new deployment, ensuring that my blog is always up to date. Vercel also provides powerful optimizations, including automatic caching and global CDN support, which help deliver content to users quickly, regardless of their location.
